
.svg)
The next step to setting up your community is adding your team onto the Threado dashboard.
Navigate to the Team dashboard under settings where you’ll be able to see all the members you have added to your team. But if you’ve only just created the community, you will only see your details here.
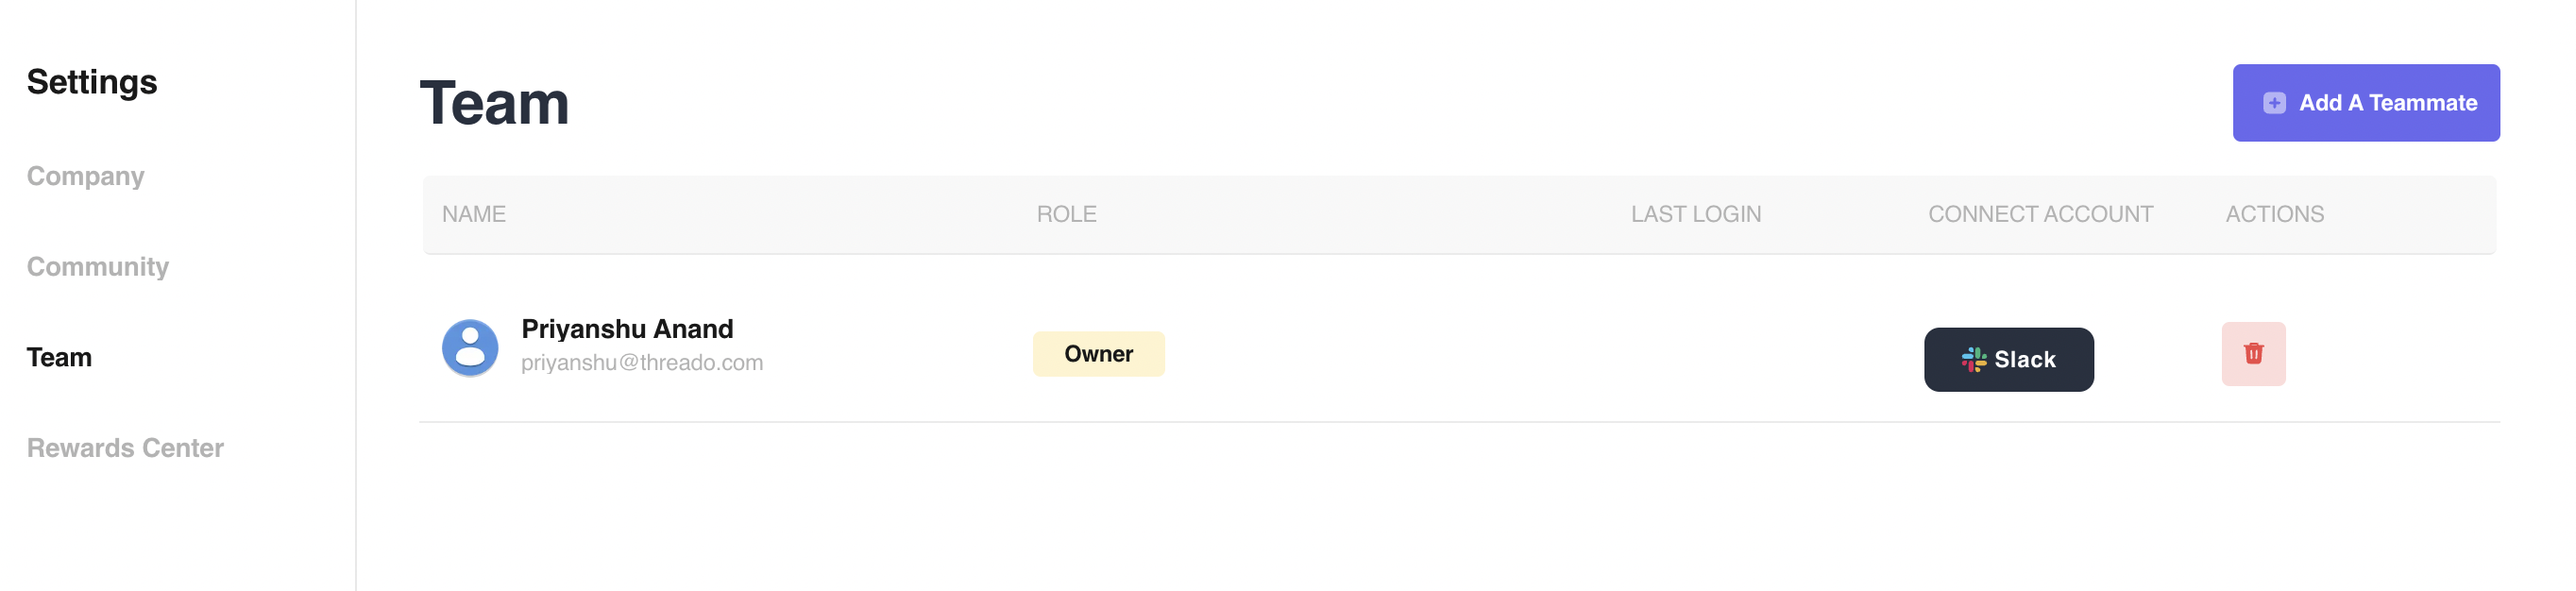
In order to add other members of your community management team, head over to the Add A Teammate option.
You will now be greeted with a dialog box asking for your team member’s email and their role. You have two options for defining role -

Once you’ve invited a member from your team, they will receive an email requesting to join your Threado workspace.
Once your teammate accepts the invite, they will have access to the workspace and will be able to independently make updates or changes.
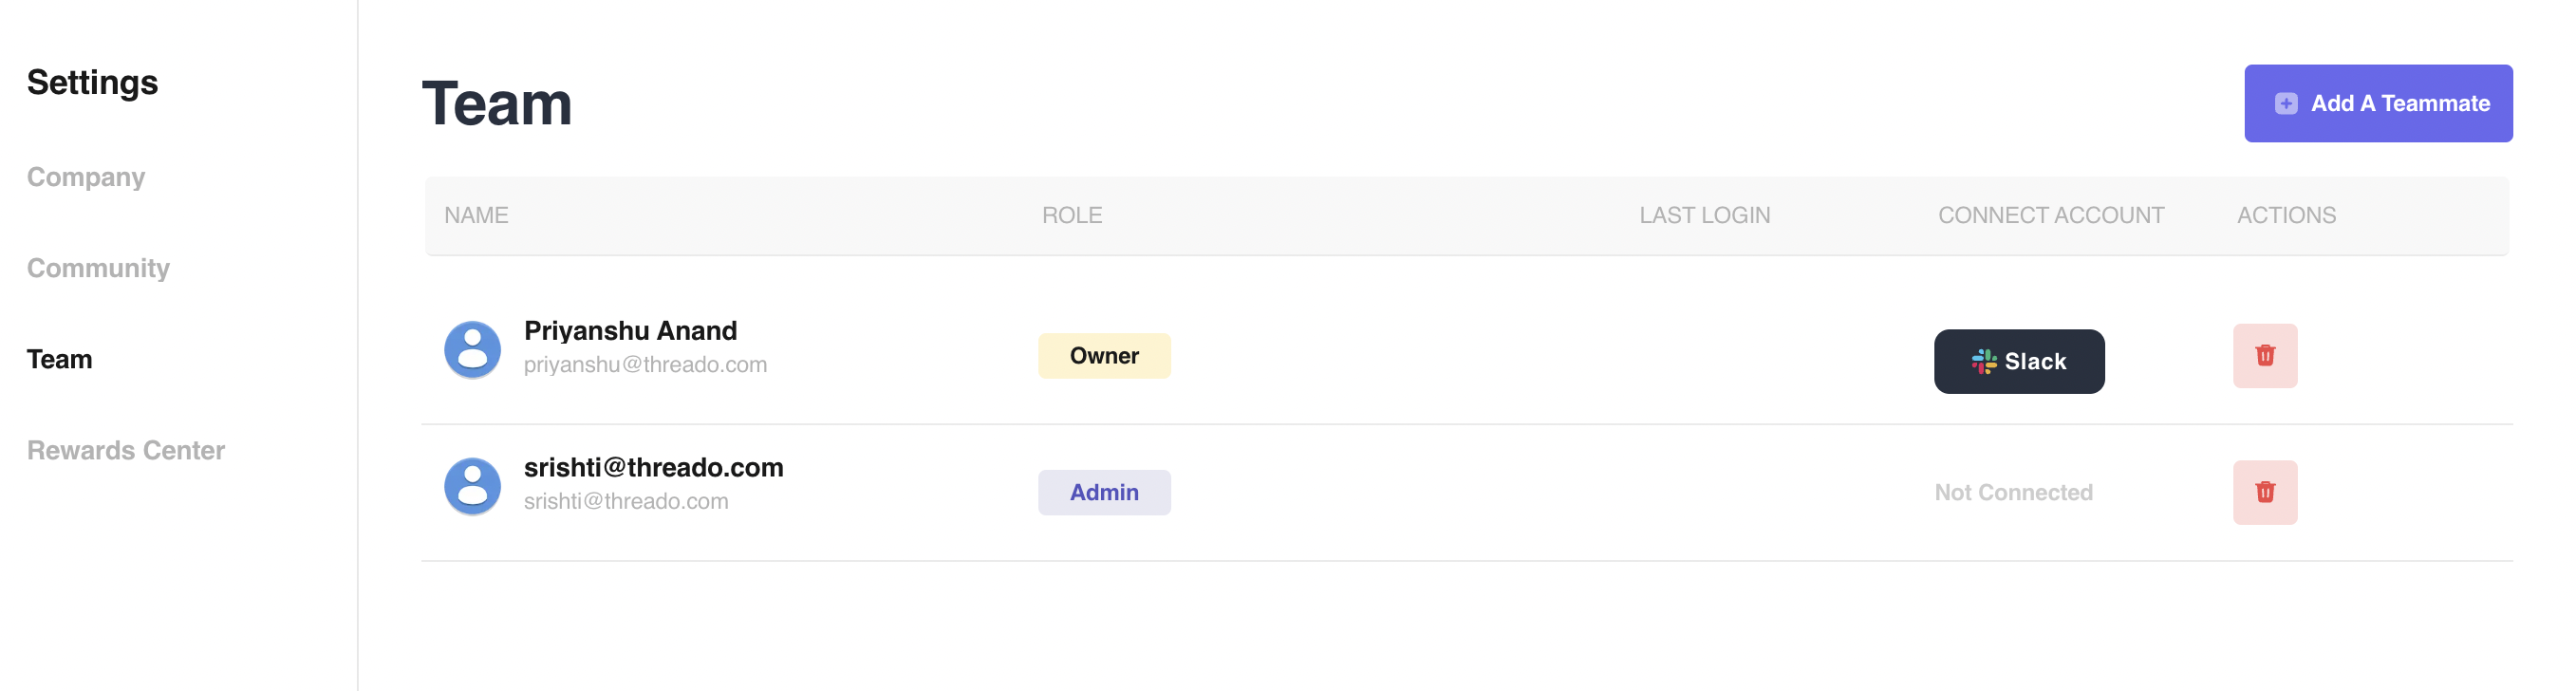
📌 Note: Once a teammate has accepted your invitation, the Invited tag under the Role column will disappear. Also, you’ll get a notification on the dashboard saying that the invitation has been accepted.
You need to also Connect your Account in order to be able to send messages and interact with your community directly from Threado’s dashboard. You can only connect your Slack account since sending direct messages from personal accounts is only possible from Slack.

.svg)
the command center for community builders

© 2023 Threado Inc